rgb Matrix Display Photos

The sides of the cabinet are good wood, but the top and bottom are veneered plywood. Trim was added at the top and bottom front to pretty-up the edge of the plywood, but after staining it turned out that the top trip has a splice.
Note the light pipe on the right of the display.
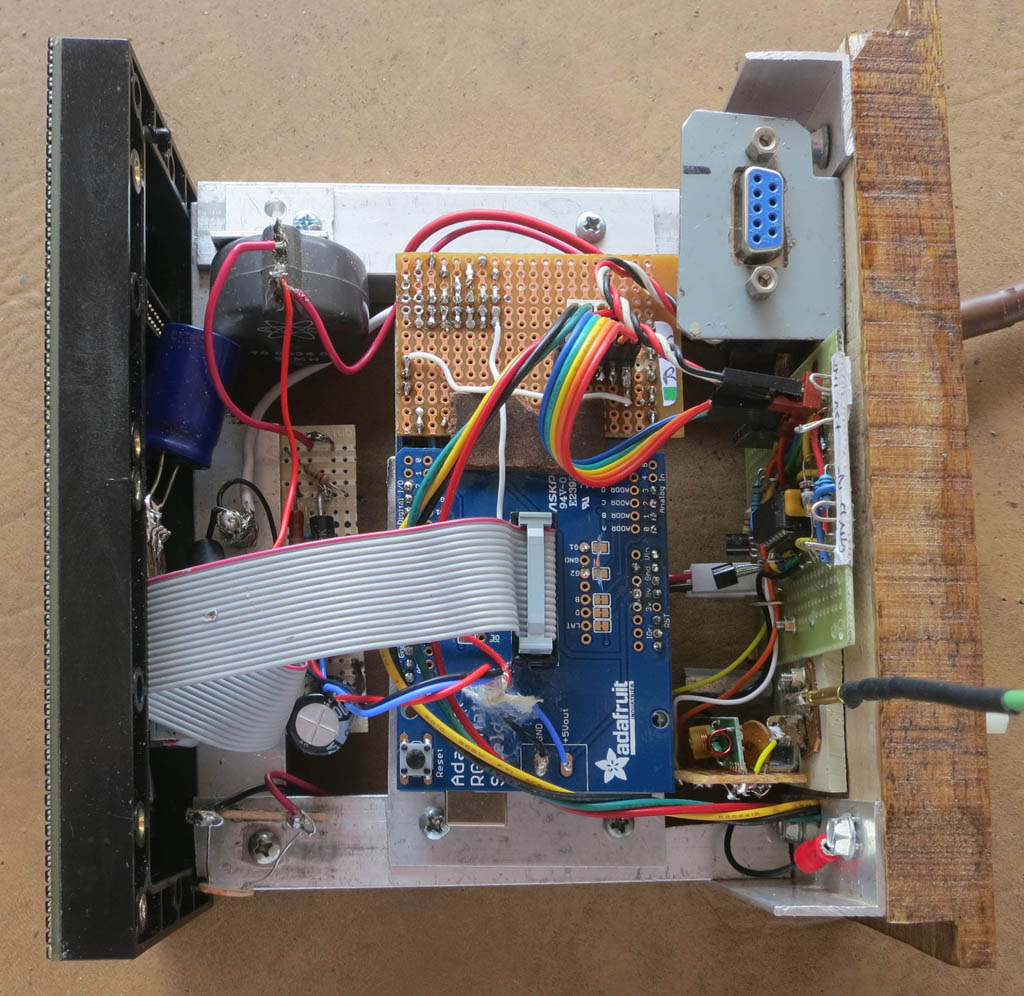
This complete assembly slides into the cabinet from the rear.
The receiver is at the back. Its antenna plugs in through a small hole in the top of the cabinet.
The colored wires at the bottom of the photo go to the temperature/humidty sensor, which is in a metal shield, open at top and bottom.
The Mega is bolted to the metal sheet with 2 screws and is underneath the shield, which plugs into it.
Note the filter inductor and large capacitor on the top left of the photo. After this photo was taken a second capacitor was placed on the shield.

This photo has the original UNO and HUB-75 "shield". Note that it can only handle half of the display, so the pattern is duplicated.
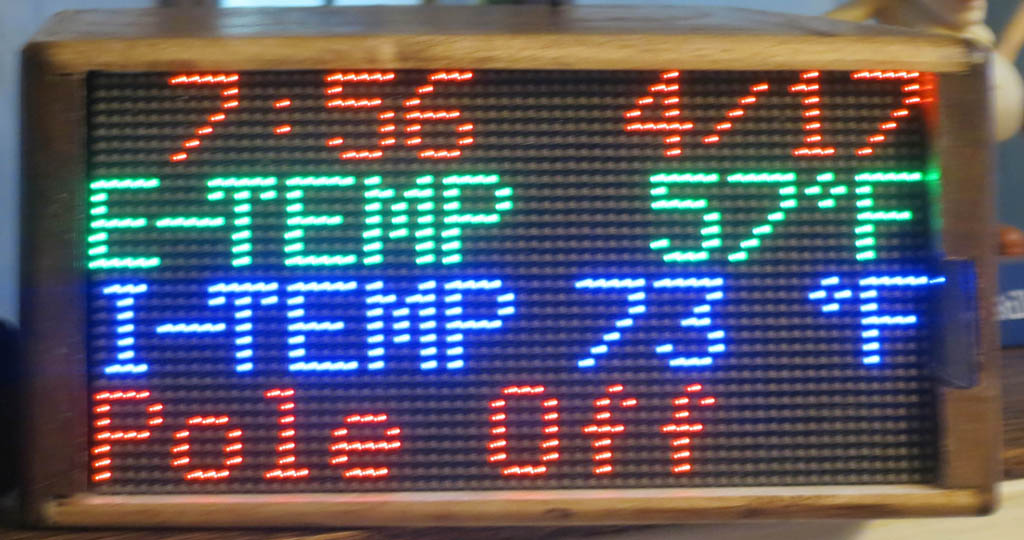
This is one of 4 pages implemented. The controllers have positions for 6. The top line is time and date for all 4, and the bottom line is reserved for notifications.
Note that the hyphen is overlapped and a space is reduced to get 11 characters and a degree symbol in 64 columns.
The degree symbol is a graphic
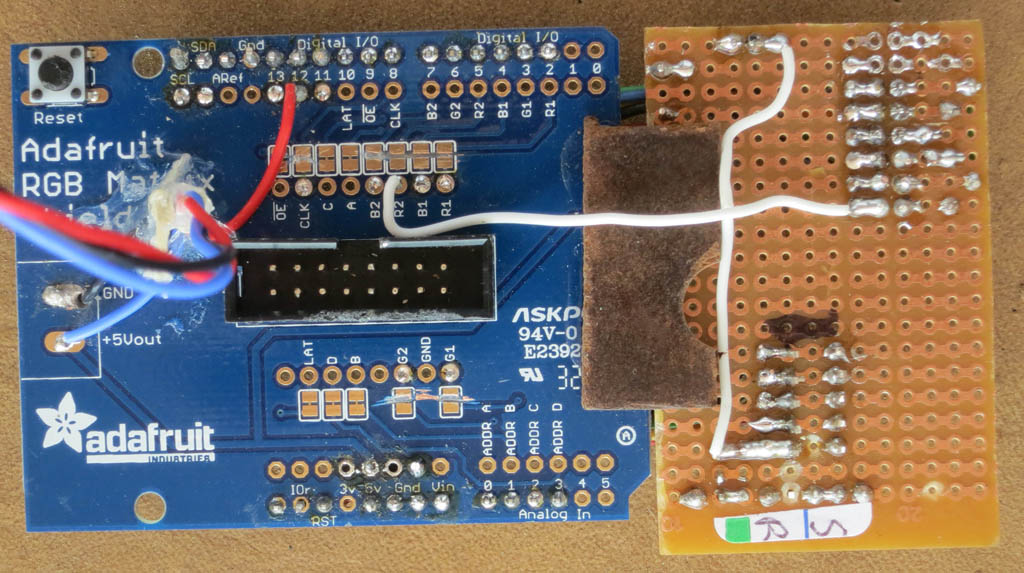
This is the top of the extended shield for the Mega. Note cut links and added jumpers..
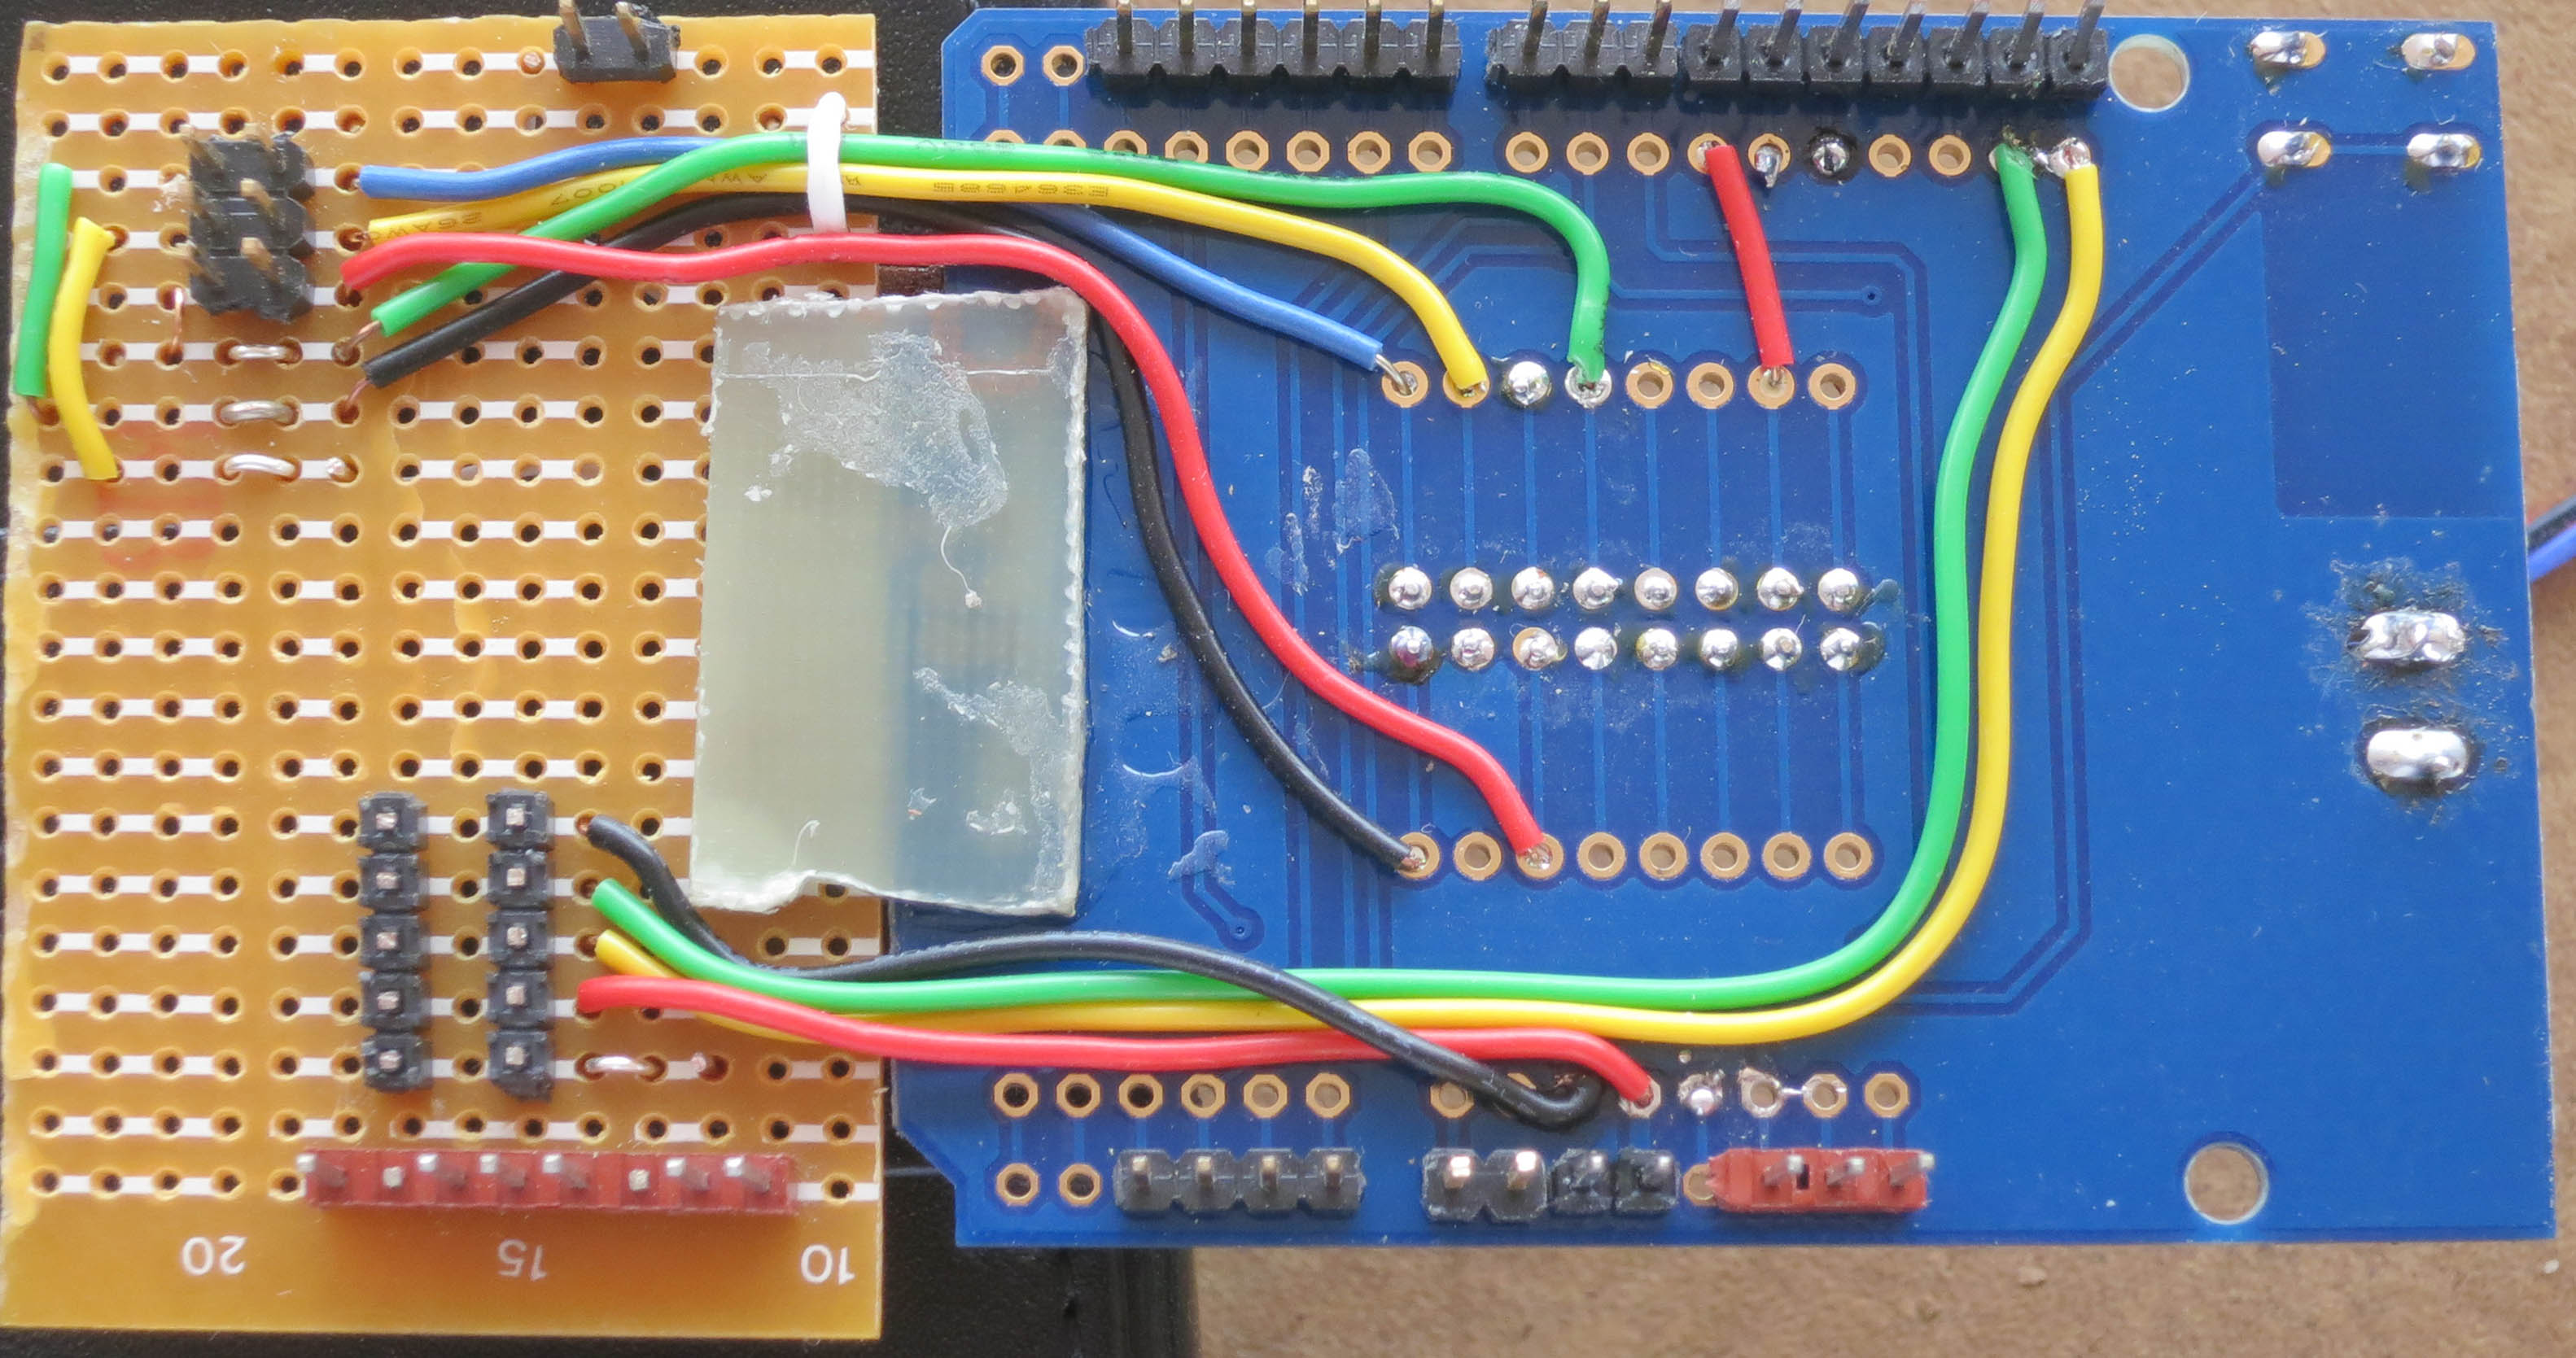
This is the bottom of the extended shield for the Mega.